Who doesn’t love a good salsa! (I’m not sure if that is actually a question or a statement but I will go with the later:))
As with the great majority of recipes that I share with you, this is a simple, whole foods gem that likely includes many of the ingredients that you already have in your pantry.
Salsa and chips is a perfect snack for Saturday night hockey, Sunday afternoon football or your monthly book club meetings.
I included this recipe in the ‘Kicking Cancer in the Kitchen’ section of my October Newsletter and got some great feedback on it!
This salsa provides you with cancer-fighting nutrients like healthy fats, vitamins, minerals and antioxidants as well as gut healthy fibre.
I hope you enjoy it!
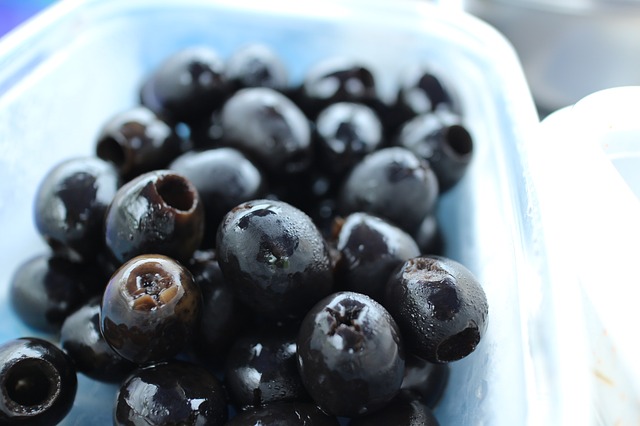
Black Olive Salsa with Organic Corn Chips
Serves 2-4
Ingredients:
1 tbsp olive oil
1/2 cup white onions, chopped
1 14 oz can diced tomatoes
1-2 tsp raw honey
2 large cloves garlic, minced
2 tsp dried oregano
10-12 black olives, drained and chopped
1/2 – 3/4 cup fresh pineapple cut into 1/2 inch pieces
Sea salt and black pepper to taste
Organic corn chips
For added protein you can add leftover roast chicken or cooked Chickpeas
Directions:
Sauté the onions with the olive oil in a medium frying pan until slightly translucent
Add the tomatoes, honey, garlic, and oregano
Continue to cook on medium heat
If using, add the chicken or beans and cook until juice has evaporated
Remove from the heat and add the olives and pineapple
Season to taste with sea salt and pepper
Serve with organic corn chips
Tips:
If you like a little heat don’t be afraid to spice it up by adding chilli flakes or even jalapenos to the salsa before serving
If corn chips are not your thing, then try whole grain pita chips or your favourite whole grain cracker.
Sticking to the perimeter of the grocery store is the ideal way to shop. But when the ideal meets the real and we find ourselves nose to label with packaging we need to be armed and ready.
Let’s face it, reading labels can be confusing. But it is a necessary evil when you want to eat healthy.
With a few tips however you will be able extrapolate the important information that you need to make good decisions in the grocery aisles.
First off avoid the propaganda on the front of the product and go right to the good stuff on the back. Companies can free wheel with what they say on the front of the packaging but there are real guidelines for what’s on the back. For example a label may say that a food product is reduced in fat or reduced sodium. What this means is that the amount of fat or sodium has been reduced from the original product amount. It doesn’t mean, however, that the food is low in fat or sodium.
Here are My 3 Top Things to Look For on a Product Label
1. Check out the Ingredients
Check out the ingredient list. Product ingredients are listed by quantity, from highest to lowest amount
2. Understand the serving size
It is really important that you understand that all of the nutrition information shown is based on serving size.
And don’t be deceived by this. A single serving may not be what you think. For instance, a serving size may be half a cup where as you might logically think it would be whole cup.
3. Know the Different Names for Sugar
We know by now the dangers of over consuming added sugars. With this in mind, it is very important that you become aware of the fact that there are many, many different names for sugar on a food label. Some of them end in –ose such as Sucrose, Maltose and Dextrose. Others like Barley Malt, Turinado and Molasses do not.
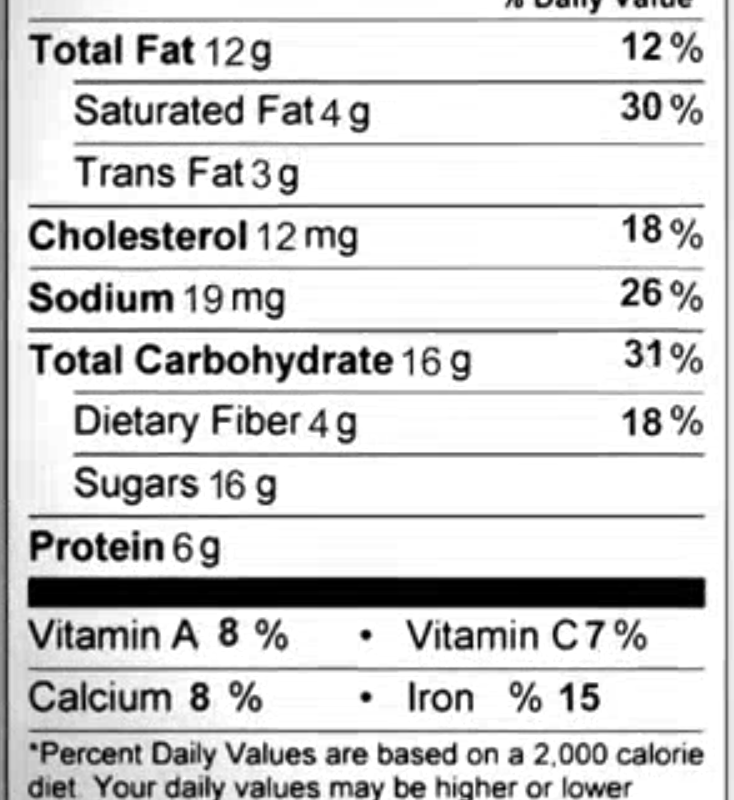
On the right side of a food label, you’ll see a column that lists the percent daily values (%DV). Percent daily values tell you how much of a the particular nutrient one serving will give you compared to how much you need for the entire day. It helps you gauge the percentage of a nutrient requirement met by one serving of the product.
Nutrition Facts Tables
Do you ever look at the Nutrition Facts tables? Do they help you decide which foods to buy or not? Do the numbers even make sense?
To be honest, I don’t think it’s that the most user-friendly or helpful tool. But it’s good to understand it since it’s here to stay.
Let me give you a super-quick crash course on reading the Nutrition Facts tables.
Then, try my delicious and super-easy snack recipe that’ll blow your pre-packaged granola bars out of the water.
How to Read the New Nutrition Facts Tables
The Nutrition Facts table is on the side of most packaged foods. It’s often found close to the ingredient listing.
The purpose of it is to help consumers make better nutrition decisions. When people can see the number of calories, carbs, sodium, etc. in food, they should be able to eat better, right?
Whether you like the Nutrition Facts table or not, let’s make sure you get the most out of it, since it’s here to stay!
Here’s my four-step crash course on reading the Nutrition Facts table.
Step 1: Serving Size
The absolute most important part of the Nutrition Facts table is to note the serving size. Manufacturers often strategically choose the serving size to make the rest of the table look good. Small serving = small calories/fat/carbs. So, it’s tricky.
All the information in the table rests on the amount chosen as the serving size. And, since every manufacturer chooses their own, it’s often difficult to compare two products.
In Canada, in the next few years (between 2017-2022), serving sizes will be more consistent between similar foods. This will make it easier to compare foods. The new labels will also have more realistic serving sizes to reflect the amount that people eat in one sitting, and not be artificially small.
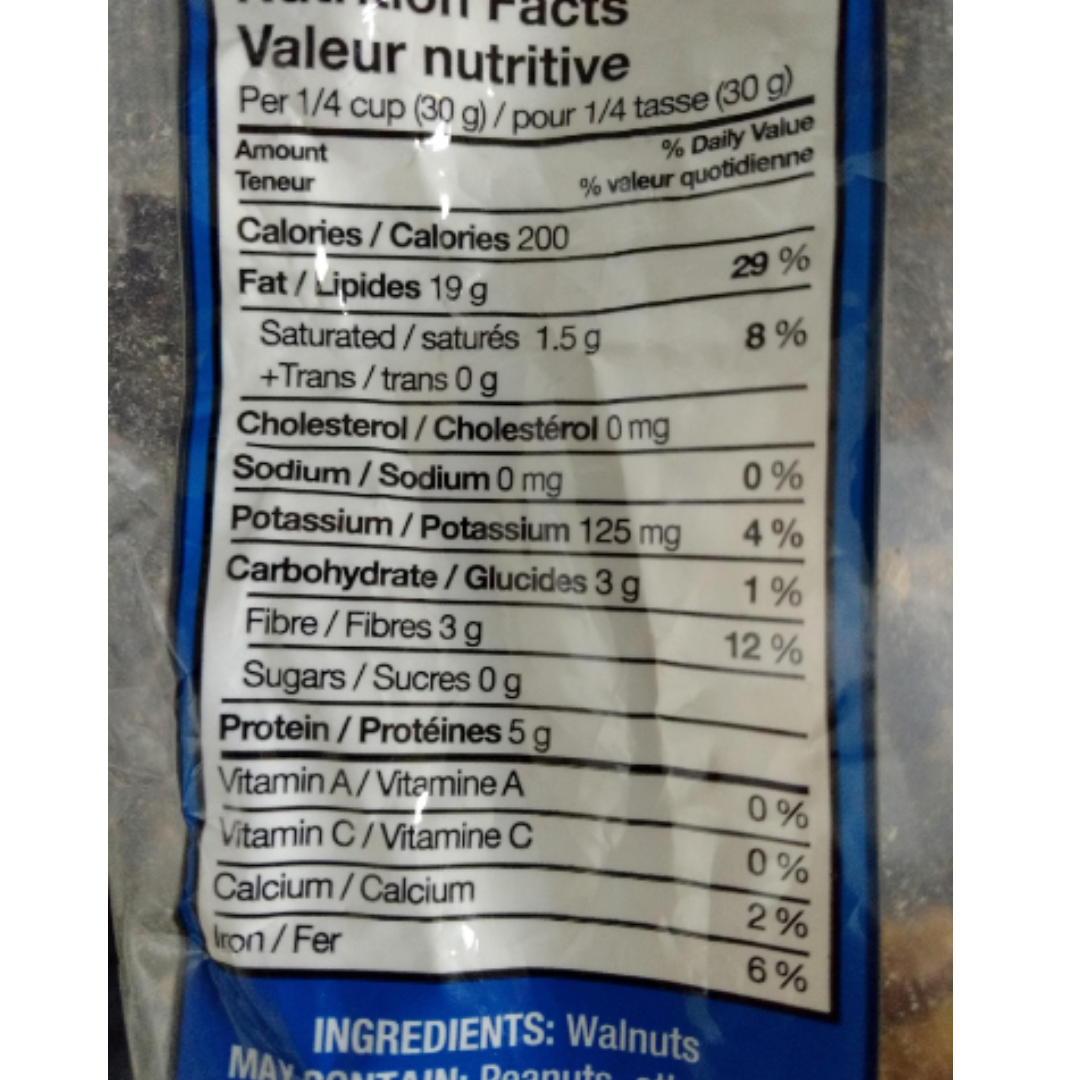
Let’s use an example – plain, unsalted walnuts from Costco.
Right under the Nutrition Facts header is the serving size. That is a ¼ cup or 30 g. This means that all the numbers underneath it are based on this amount.
FUN EXPERIMENT: Try using a measuring cup to see exactly how much of a certain food equals one serving. You may be surprised at how small it is (imagine a ¼ cup of walnuts).
Step 2: % Daily Value
The % Daily Value (%DV) is based on the recommended daily amount of each nutrient the average adult needs. Ideally, you will get 100% DV for each nutrient every day. This is added up based on all of the foods and drinks you have throughout the day.
NOTE: Since children are smaller and have different nutritional needs if a type of food is intended solely for children under the age of 4, then those foods use a child’s average nutrition needs for the %DV.
The %DV is a guideline, not a rigid rule.
You don’t need to add all of your %DV up for everything you eat all day. Instead, think of anything 5% or less to be a little; and, anything 15% or more to be a lot.
NOTE: Not every nutrient has a %DV. You can see it’s missing for things like cholesterol, sugar, and protein. This is because there isn’t an agreed “official” %DV for that nutrient. The good news is that the new Nutrition Facts tables will include a %DV for sugar. Keep your eyes out for that.
Step 3: Middle of the table (e.g. Calories, fat, cholesterol, sodium, potassium, carbohydrates, and protein)
Calories are pretty straight forward. Here, a ¼ cup (30 g) of walnuts has 200 calories.
Fat is bolded for a reason. That 19 g of fat (29% DV) is total fat. That includes the non-bolded items underneath it. Here, 19 g of total fat includes 1.5 g saturated fat, (19 g – 1.5 g = 17.5 g) unsaturated fat, and 0 g trans fat. (Yes, unsaturated fats including mono- and poly-unsaturated are not on the label, so you need to do a quick subtraction).
Cholesterol, sodium, and potassium are all measured in mg. Ideally, aim for around 100% of potassium and sodium each day. It’s easy to overdo sodium, especially if you grab pre-made, restaurant foods, or snacks. Keep an eye on this number if sodium can be a problem for you (e.g. if your doctor mentioned it, if you have high blood pressure or kidney problems, etc.).
Carbohydrate, like fat, is bolded because it is total carbohydrates. It includes the non-bolded items underneath it like fiber, sugar, and starch (not shown). Here, 30 g of walnuts contain 3 g of carbohydrates; that 3 g are all fiber. There is no sugar or starch. And as you can see, 3 g of fiber is 12% of your daily value for fiber.
Proteins, like calories, are pretty straight forward as well. Here, a ¼ cup (30 g) of walnuts contains 5 g of protein.
Step 4: Bottom of the table (e.g. vitamins & minerals)
The vitamins and minerals listed at the bottom of the table are also straightforward. The new labels will list potassium, calcium, and iron. Yes, potassium will drop from the middle of the table to the bottom, and both vitamins A & C will become optional.
Manufacturers can add other vitamins and minerals to the bottom of their Nutrition Facts table (this is optional). And you’ll notice that some foods contain a lot more vitamins and minerals than others do.
Conclusion
I hope this crash course in the Nutrition Facts table was helpful because it is important to be informed about what you are eating.
Proper nutrition is a key piece of cancer prevention so understanding what you choose to put in to your shopping cart is key.
Do you have questions about it? If so, leave me a comment below.
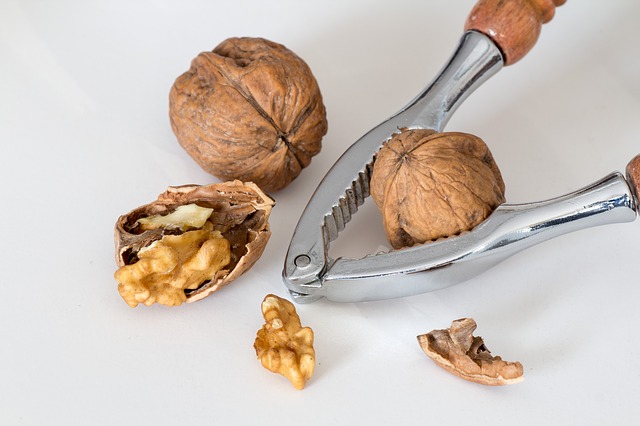
Delicious and Super-Easy Walnut Snack Recipe
Serves 1
Ingredients:
8 walnut halves
4 dates, pitted
Instructions:
Make a “date sandwich” by squeezing each date between two walnut halves.
No bake energy balls are the perfect little pick me up when your energy is low or your tummy is a grumblin’!
And once you have the basics in place you are only limited by your own creativity.
The basics of a good energy ball include:
Oats
Nut or seed butter
A sweetener like honey or maple syrup
Boosters and Tasters.
And this my friends, the Boosters and Tasters, is where you set your energy balls apart from the rest. Boosters and tasters include hemp seeds, chia seeds, cacoa nibs, coconut, chocolate chips, dried fruit and flavourings such and vanilla and mint.
So here is your basic recipe:
1 cup rolled oats
1/2 cup nut butter
1/4 cup honey or maple syrup
2 Tablespoons of a Booster like hemp
Directions:
Blend the oats in your food processor until a flour consistency then add the rest of your basic ingredients and your choices of Tasters. Form in to balls, place on a cookie sheet and then place them into the freezer for 10 minutes to set their shape.
Are you on Team Snacker or Team Anti-Snacker? I have to admit right from the get go here that I lie somewhere in the middle depending upon who I am working with and their health goals and lifestyles. The fact remains though that in all situations, snacking should not be a source of empty calories. So wave goodbye to the office vending machine and drive right on past the corner donut store because no matter what team you are on your food choices should be nutritious and health promoting. But this is easier said than done when it comes to snacks because quite often we are looking for quick, tasty and portable options to bridge meal times. With all of these qualifiers it’s no wonder that the most common question I get when putting together a nutritional protocol for clients is “Can you please give me some good snack ideas?”
So here you go. These are my top 5 go-tos when it comes to healthy snacks.
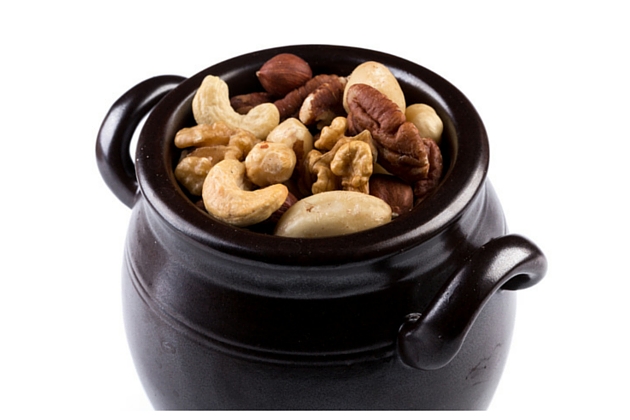
Trail Mix
Trails mixes are great! Make them with your favourite nuts, add some healthy seeds like pumpkin, sunflower and hemp and then kick it up a nutritional notch with goji berries. Protein, healthy fats and fibre in every bite!
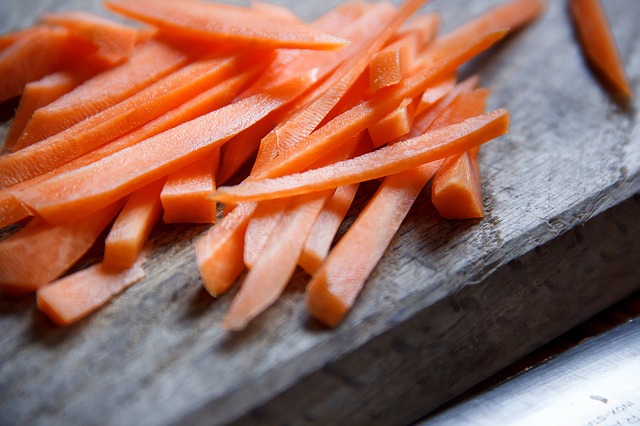
Mason Jar Veggies with Hummus
Grabbing a good quality, ready-made hummus at your local grocer is just fine if you don’t have the time to make your own. Divide it in to a few mason jars then add your favourite veggies on top like carrots, celery, broccoli and red pepper. Lid it up and you have a simple, nutritious snack that’s easy to travel with.
Apples
Please do not undervalue simplicity when it comes to snacking. Apples come in many varieties and are a great source of fibre, phytonutrients and antioxidants. Prepackage and ready to go, apples area a great snacking choice.
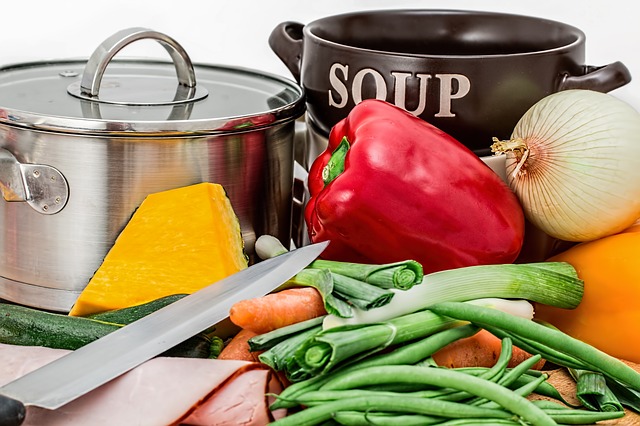
Soup
Searching for a good healthy snack can be as easy as looking to yesterday’s lunch or dinner. I make a lot of soups and love to pack them in a thermos and sip them when I need a boost during the day. The variety of soups is endless so you will never get bored!
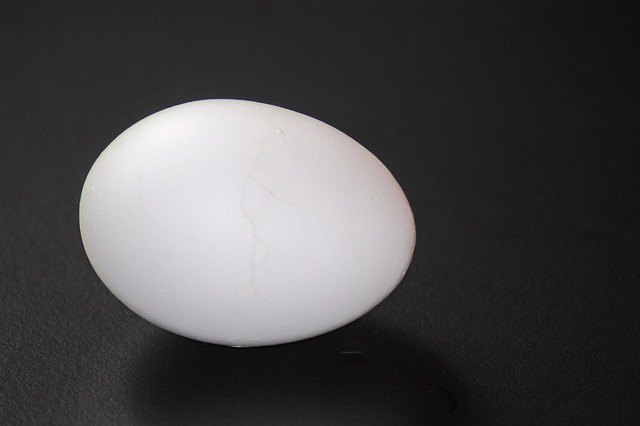
Hard-boiled Eggs
Make these ahead of time and then grab them on the fly. Hard-boiled eggs are a punch of protein and good fats and are also a good source of the nutrient choline.
If snacking is a part of your routine, these nutritious options can help to support your health goals and are very easy to incorporate in to your every day life.

 Oats
Oats 1 cup rolled oats